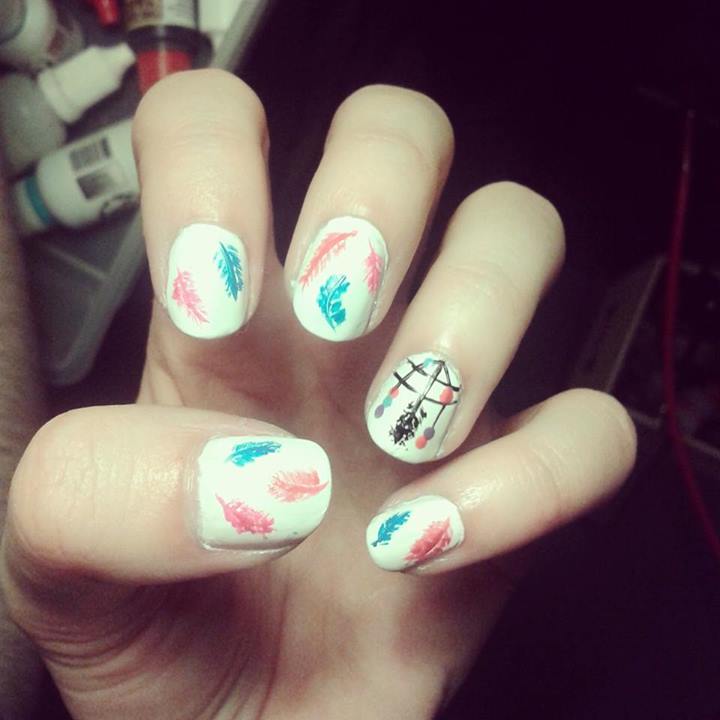
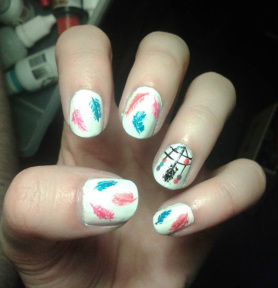
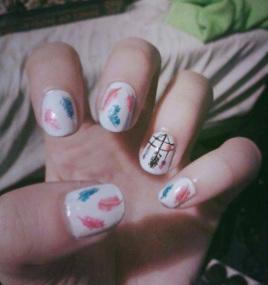
how to do ... DREAMCATCHER nail art
To create these Dreamcatcher Nails, I initially followed Cute Polishes tutorial on YouTube, which can be found HERE. I found the video fairly easy to follow, but I had to keep pausing and rewinding - I work so much better with easy step by step guides, so I thought that my version might be of help to you! :) For this I mainly used Nail Art Polishes which I bought from eBay ... They're OK .. for the money anyway! I got 24 for £12.99 and for starting out, they're not all bad I guess! I hope you enjoy reading my tutorial and I hope you find it easy enough to follow!
|
|
Nail polishes used: Barry M Nail Paint in White
Nail Art Polish in Pink
Nail Art Polish in Red
Nail Art Polish in Blue
Nail Art Polish in Black
MUA Nail Polish in Purple
Barry M Gelly Hi Shine Nail Paint in Blueberry
Barry M Nail Paint in Strawberry Ice Cream
Sally Hansen Insta-Dri Top Coat
Tools Used: Dotting Tool
Nail Art Polish in Pink
Nail Art Polish in Red
Nail Art Polish in Blue
Nail Art Polish in Black
MUA Nail Polish in Purple
Barry M Gelly Hi Shine Nail Paint in Blueberry
Barry M Nail Paint in Strawberry Ice Cream
Sally Hansen Insta-Dri Top Coat
Tools Used: Dotting Tool
This tutorial is made up of 2 parts - the feathers and the accent nail. You can skip 'Part 2 - The accent nail' if you'd prefer to just have a feathered manicure though!
Part 1 - The feathers
|
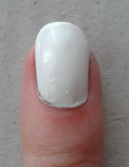
Step 1. Paint your nail using a white nail polish. I used Barry M Nail Paint for this. You might need to go over it a couple of times to get an even and smooth colour as white can be difficult to paint with! |
|
|
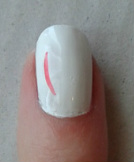
Step 2. Choose any colour Nail Art Polish you like. In my example, I have chosen the red! Using one stroke, paint a medium sized curved line on one side of your nail. You can paint on as many feathers as you like on one fingernail, but it really depends on how big you want the feathers to be. I am going to go for 2 medium sized feathers as my nails aren't very wide. |

|
|
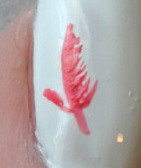
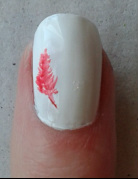
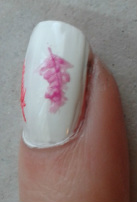
Step 3. Now, to begin painting the strands of the feather. For this, I started to paint wider at the bottom and worked my way up the feather gradually getting smaller. (Don't start at the very bottom of the feather as it needs the quill to look effective) N.B. The quill is the long bit in the middle of the feather - I had to Google it :/ The method I used for this is long, wide strands at the end of the feather, gradually decreasing to smaller flicks at the top of the feather. Do this angling upward so the feather doesn't end up looking like a tree! I had to go over the feather a couple of times with light strokes to get the fluffy effect :) Once I created the feathers, I went over the middle bit again to hide any rough looking bits. |
|
|
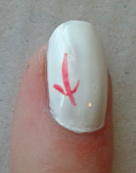
Step 4. Draw another curved line on the other side of your nail upside down, and repeat the process for creating the strands of the feathers.
I chose to do one feather upside down and one normal as I thought it added variety! |

|
|
Part 2 - the accent nail.
|
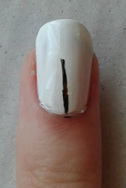
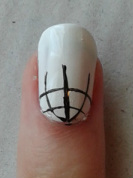
Step 1. Using a black Nail Art Polish, paintbrush, striper pen, nail art pen or whichever you prefer, draw a straight line about 3/4 a way up your nail. |
|
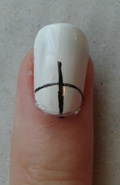
Step 2. Next, draw 2 slightly curved lines horizontally. One about half way down the line, and the other about a quarter of the way down the line.
Do this by drawing one half of the line to the middle, and then do the same for the other side.
Do this by drawing one half of the line to the middle, and then do the same for the other side.

|
|
|

|
|
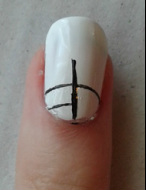
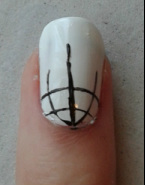
Step 3. From the end of the line, draw one curved line either side of the centre line, dropping down. It should end up looking a bit like a bird cage. |
|
|
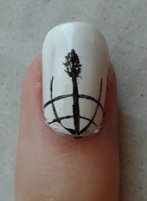
Step 4. Draw the smallest little curved line off the end of the centre line, just like you did with the feathers. |
|
|
Step 5. Now, begin to paint the feather. You can start small from the bottom going up, or big from the top going down - whatever you feel most comfortable doing! :) |
|
|
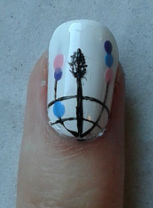
Step 6. Finally, finish off the accent nail by using your dotting tool to paint on the beads. For these, I used:
|
|
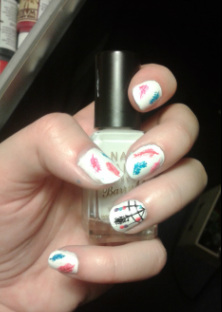
Step 7. Finish off your manicure with a tidy up and a top coat, and you're done!
|
|
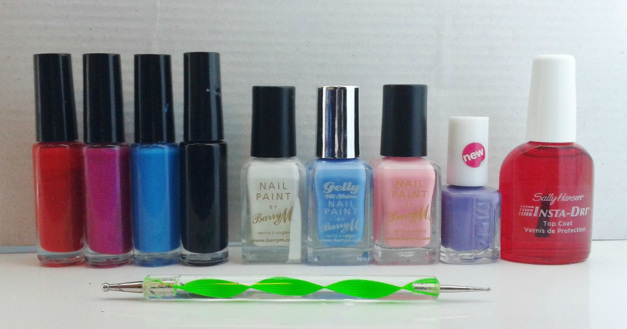
(L,R) Nail Art Polishes in Red, Pink, Blue and Black, Barry M Nail Paint in White, Barry M Gelly Hi Shine in Blueberry, Barry M Nail Paint in Strawberry Ice Cream, MUA Nail Paint in Purple, Sally Hansen Insta-Dri Coat.
I hope your enjoyed this tutorial! :)
Please feel free to leave comments and suggestions below.
Please feel free to leave comments and suggestions below.
HTML Comment Box is loading comments...
