Halloween Nails!
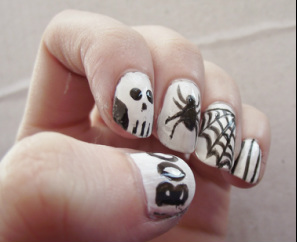
Halloween is over now but I thought I would make a section showing the 2 designs I created for the holiday! The first design I went for was a simple, stamp like design including a spider, spider web, a skull, lettering and simple lines.
I don't usually like having different designs on each nail but I am quite liking these! I started off with a white base colour on each nail as I thought it gave me an easy colour canvas to work on. Other colours may not have shown up as well if I had used a red or an orange base, for example.
I don't usually like having different designs on each nail but I am quite liking these! I started off with a white base colour on each nail as I thought it gave me an easy colour canvas to work on. Other colours may not have shown up as well if I had used a red or an orange base, for example.

|
|
I actually found these pretty easy to create! The only difficult ones to do were the spider web and the spider! The others took less than a few minutes to do :)
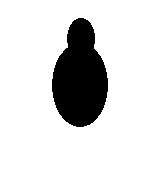
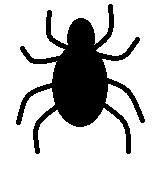
I created the spider with a paintbrush and some black nail paint. I started by painting an oval shape in the middle of my nail. I then did a smaller oval where I wanted the spider head to go.
Then, I drew on the legs: 2 going forward and 2 going backward!
I created the spider with a paintbrush and some black nail paint. I started by painting an oval shape in the middle of my nail. I then did a smaller oval where I wanted the spider head to go.
Then, I drew on the legs: 2 going forward and 2 going backward!

Spider Body
|
Spider Body with Head
|
Spider Legs Added
|
The spider web was created by drawing 5 straight lines, going from the corner of the bottom left of my nail. From there, I used a paintbrush and painted on wide 'U' shapes to get the web effect! I did need to go over the paint a few times though to make sure it was bold enough. :)

Start of the web
|
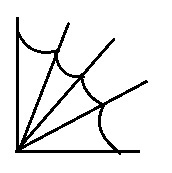
Adding the middle of the web
|
The skull nail was created by painting on 2 black blocked colours on each side of the nail. Using a dotting tool, I created the eyes, then, moving to a smaller side of the dotting tool, I created the nose - kind of like an upside down heart! Once that was done, using a paintbrush I created the teeth on the bottom part of the skull.
Black Blocks on each side of the nail
|

Add in the eyes and nose using a dotting tool
|

Using a paintbrush, paint in the teeth
|
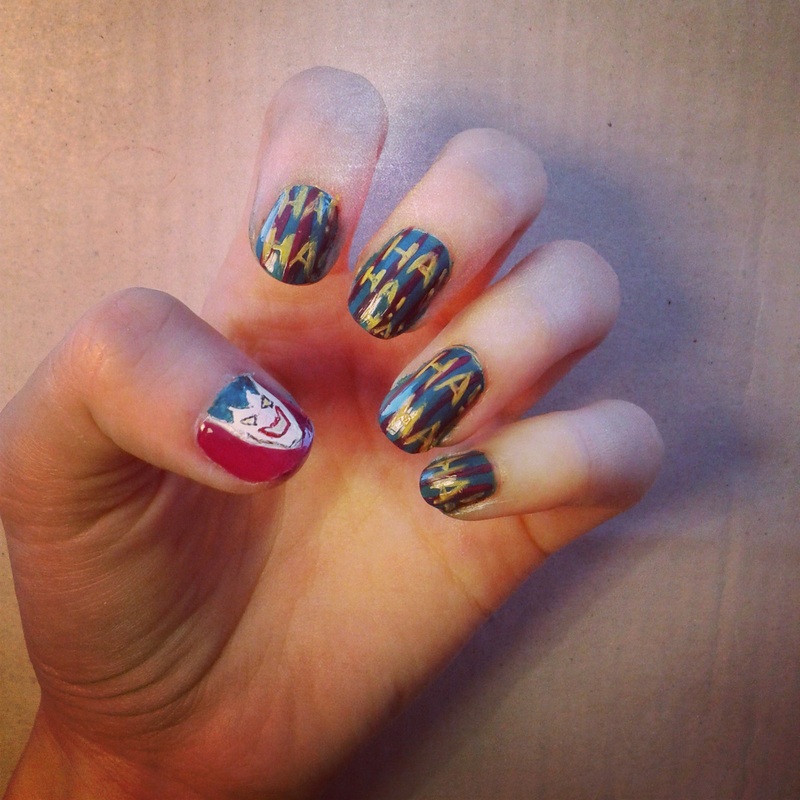
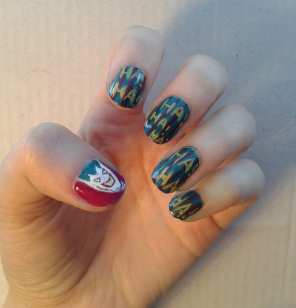
joker nails
The second design I created was the Joker from the Batman Comics (not the Heath Ledger one!). It was sooo hard to do as I'm not very good at painting faces in the slightest, especially using a tiny paintbrush!
|
|
|
It's a bit hard to show how I created the face as everyone paints differently so I have just shown you the photo I used to copy the face >>>
I started off with a white base colour, then painted on the face outline. I then moved onto the mouth, eyes and the hair. Basically working my way up! I have shown below which Nail Polishes were used to help create this design: |

|
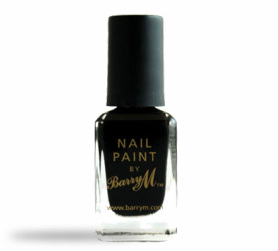
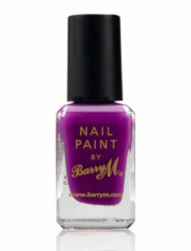
Barry M Nail Paint in Black
|
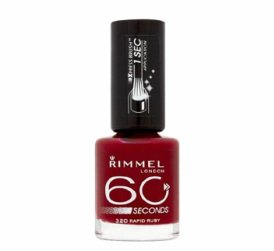
Rimmel 60 Second Nail Polish in Rapid Ruby
|
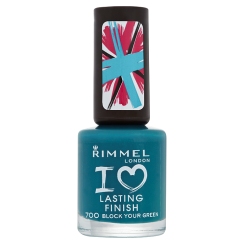
Rimmel Lasting Finish in Block Your Green
|
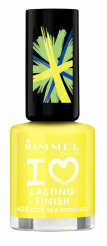
Rimmel Lasting Finish in Cute As A Kitten Heel
|
The other 4 nails were sooo easy! As I had spent ages creating the joker face I really couldn't be bothered to make too much of a fuss over the rest of my nails. I went for a simple design which turned out to be very effective!
|
I used the Rimmel Block Your Green as a base colour. I then used Barry M's Nail Paint in Bright Purple to paint on the stripes. For this I used a thin paintbrush. Once that was dry, I used Rimmels Lasting Finish in 'Cute as a kitten heel' to paint on the writing.
I did this using a thin paintbrush. I went for lettering which was relevant to the Joker theme. Luckily, 'HA, HA!' was easy to write, as I only needed to paint straight lines. I did need to go over the yellow a couple of times though to make it stand out :) |
|

Base colour
|
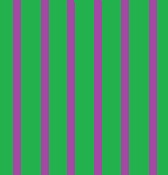
Base Colour with Stripes
|
And there you have it, my Halloween Nails!
I hope you enjoyed this article, and thanks for reading! :)
Please feel free to leave comments and suggestions below.
HTML Comment Box is loading comments...
