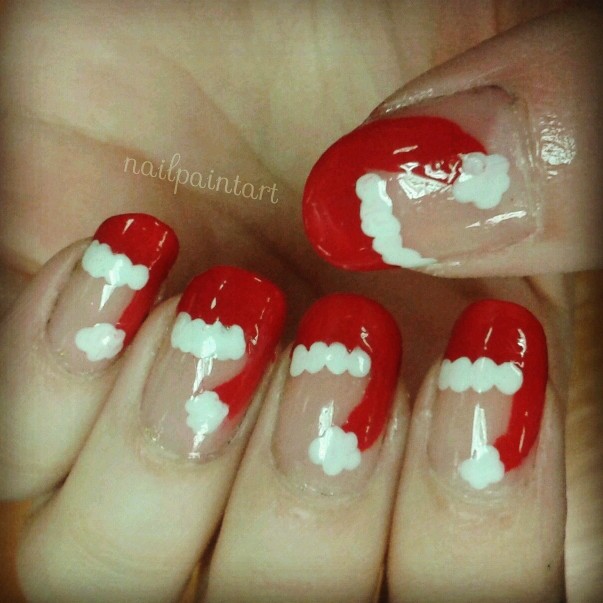
how to do ... Santa Hat Nail Art
I saw this Santa Hat Nail Art and just had to try it! I found it so easy to do so I thought I would share my tutorial of it with you all! All you need is 4 nail polishes; 2 colours, a base coat, top coat, a dotting tool and you're set to go. This design is perfect for the Christmas Season - it's really cute too! I hope you enjoy my simple step by step tutorial below :)
|
|
Nail polishes used: Sally Hansen Hard as Nails
Rimmel I <3 Lasting Finish in Double Decker Red
Miss Sporty Nail Tip Whitener
Sally Hansen Insta-Dri Top Coat
Tools Used: Dotting Tool
Rimmel I <3 Lasting Finish in Double Decker Red
Miss Sporty Nail Tip Whitener
Sally Hansen Insta-Dri Top Coat
Tools Used: Dotting Tool
AND ... BEGIN!
|
Step 1. Start with a clear Basecoat. I used Sally Hansen Hard as Nails, as it acts as a basecoat, as well as making your nails super strong! |

|
|
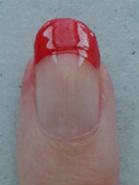
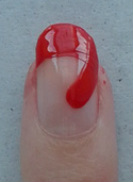
Step 2. Using a red Nail Polish, paint the tips of your nails like the picture on the right. You may need a good couple of coats to get a solid colour.
I used Rimmels 'I <3 Lasting Finish' in Double Decker Red. |
|
|
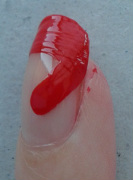
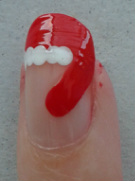
Step 3. Next, you will need to create the hanging part of the hat. Using the red nail polish again, paint a medium sized line from the top right corner of your nail and angle it down towards the middle.
If you need to, go over the tip of your nail again using the red polish to cover the line you have just made. |
|
|
|
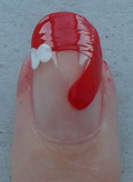
Step 4. Now it's time for the white parts of Santas Hat. For this you will need a dotting tool.
Dip the dotting tool in white nail polish and start adding dots from the left side of the nail, going to the right and stopping at the hanging bit of the hat. I used a Miss Sporty Nail Tip whitener as I find this to be a solid white colour, meaning it doesn't need more than one coat. |
|
|
It should end up looking the the pictures on the right. |
|
|
|
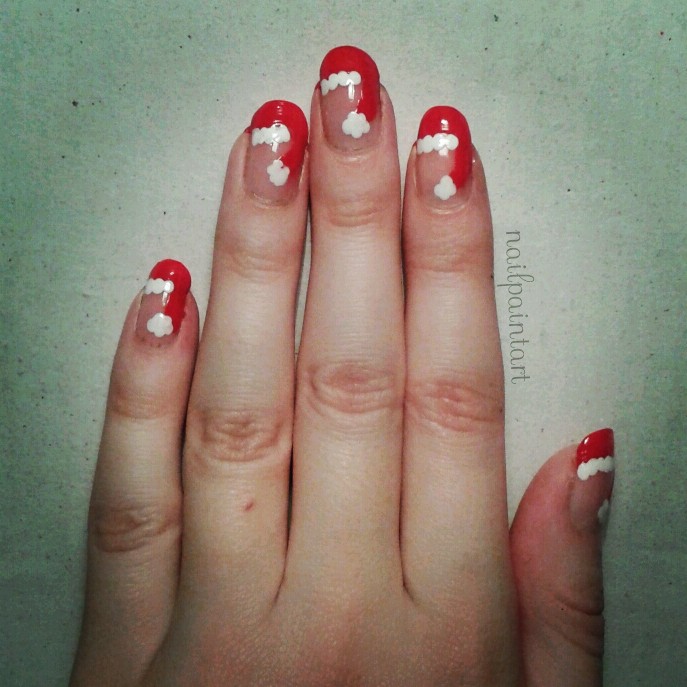
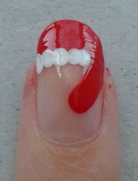
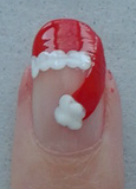
Step 5. This is the last part of your pattern. You will need to use your dotting tool again to create the bobbly bit at the end of the hat.
Again, dip the dotting tool into the white nail paint and create four dots in a circle shape at the end of the hat. |
|
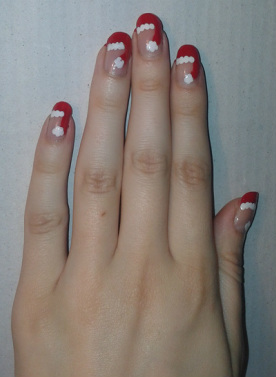
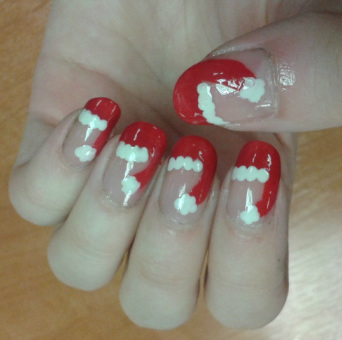
Step 6. Finish off with a top coat and a tidy up and you're done!
|
|
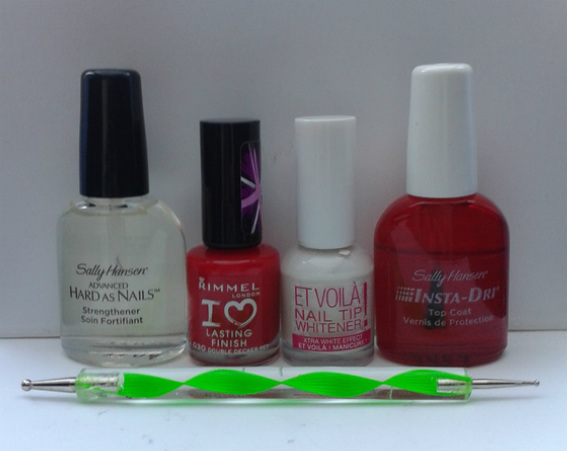
(L,R) Sally Hansen Hard as Nails. Rimmel I <3 Lasting Finish in Double Decker Red, Miss Sporty Nail Tip Whitener, Sally Hansen Insta-Dri Top Coat
Thank you for reading this tutorial! I hope you enjoyed it :)
Please feel free to leave any comments and suggestions below!
HTML Comment Box is loading comments...
